How to transfer photos to computer: The Ultimate Guide for Every Device
In our digital-first era, our smartphones and digital cameras have become the primary vessels for our most cherished memories. From breathtaking landscapes captured on vacation to the simple, candid moments of daily life, we accumulate thousands of high-resolution images. However, leaving these files solely on your mobile device or camera memory card is a risky strategy. Devices can be lost, damaged, or suffer from storage exhaustion. Learning how to transfer photos to computer is not just a matter of convenience; it is a fundamental step in digital preservation and professional workflow management. This guide provides a deep dive into every modern method available, ensuring your photos are safely moved from your gadgets to your Windows PC or Apple Mac with maximum efficiency and zero quality loss.
Why You Need a Robust Photo Transfer Strategy
Before we delve into the technical 'how-to,' it is essential to understand the 'why.' Transferring photos to a computer serves three main purposes: Security, Space, and Sophistication. By moving files to a local machine, you create a physical backup that is independent of cloud subscriptions or cellular connectivity. Furthermore, computers offer significantly more storage capacity than the average smartphone, allowing you to free up space for new memories. Finally, for those who enjoy photo editing, a computer provides the processing power and screen real estate necessary for professional-grade adjustments in software like Adobe Lightroom or Capture One.
Method 1: Transferring Photos via USB Cable (The Gold Standard)
The most direct and reliable way to transfer large volumes of data is through a physical USB connection. This method bypasses the limitations of internet speeds and ensures that original file metadata remains intact.
For Windows Users: The Photos App and File Explorer
Windows 10 and 11 come equipped with a built-in Photos App designed to streamline the import process. Here is how to use it:
- Connect: Plug your smartphone or camera into your PC using a high-quality USB cable.
- Unlock: Ensure your mobile device is unlocked. If prompted, tap 'Trust' or 'Allow' to give the computer access to your files.
- Launch: Open the Photos app from the Start menu.
- Import: Click the 'Import' button (usually located in the top-right corner) and select 'From a connected device.'
- Select: The app will scan for photos. You can choose to import all items or select specific images.
- Destination: Choose your destination folder and click 'Import' to begin the process.
Alternatively, many power users prefer File Explorer. This treats your phone like an external hard drive, allowing you to manually drag and drop folders (usually found in the DCIM directory) directly to your desktop. This is often faster for those who want total control over their folder structure.
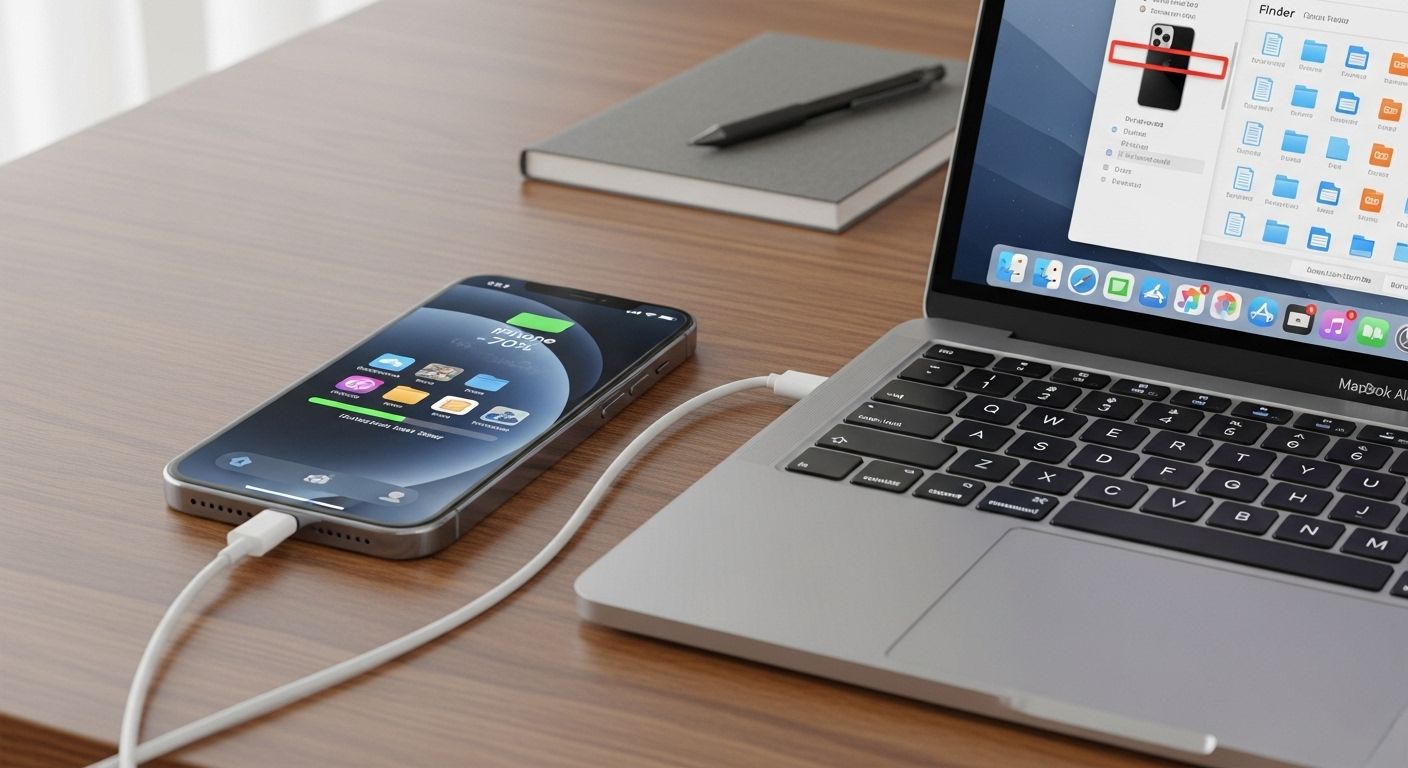
For Mac Users: Image Capture and Photos
macOS offers a similar experience through the Photos app and the often-overlooked Image Capture utility. Image Capture is particularly useful for those who do not want to import their photos into a specific library but rather save them directly to a folder on the Finder.
- Photos App: When you plug in an iPhone, the Photos app usually opens automatically. Select your device in the sidebar and click 'Import All New Photos.'
- Image Capture: This tool allows you to select a specific destination (like an external SSD) and provides a list view of all media, including file sizes and formats, making it ideal for managing large 4K video files alongside photos.

Method 2: Leveraging Cloud Storage Services
Cloud services have revolutionized how we handle digital media. By using services like iCloud, Google Photos, or OneDrive, the process of transferring photos to a computer becomes almost entirely automated.
Google Photos: The Cross-Platform Giant
Google Photos is perhaps the most versatile option, working seamlessly across Android, iOS, Windows, and macOS. To transfer photos using this method:
- Enable 'Back up & sync' in the Google Photos app on your mobile device.
- On your computer, navigate to photos.google.com and sign in with your Google account.
- Select the photos you wish to keep locally, click the three-dot menu, and choose 'Download.'
iCloud Photos: The Seamless Apple Ecosystem
For users fully immersed in the Apple ecosystem, iCloud Photos is the most frictionless path. By enabling iCloud Photos on your iPhone and Mac, every picture you take is instantly available in the Mac Photos app. Windows users can also access this by downloading the iCloud for Windows client, which creates a dedicated 'iCloud Photos' folder in File Explorer that syncs automatically.
Method 3: Using SD Cards and Card Readers
For photographers using DSLRs or mirrorless cameras, the SD card is the primary storage medium. Transferring these photos requires a physical interface. If your computer lacks a built-in SD slot, a USB-C Multiport Hub or a dedicated UHS-II Card Reader is an essential investment.
The process is straightforward: remove the card from the camera, insert it into the reader, and the computer will recognize it as a removable drive. Pro Tip: Always 'Eject' the drive in your operating system before physically removing the card to prevent data corruption. This is especially critical when dealing with high-bitrate RAW files or 4K video segments.
Wireless Camera Transfers
Modern cameras from brands like Sony, Canon, and Nikon come with built-in Wi-Fi and Bluetooth. While these are convenient for transferring a single photo to a phone for social media, they are often too slow for bulk transfers to a computer. For a full shoot, the physical card reader remains the superior choice for speed and reliability.
Method 4: Wireless Transfer Tools (AirDrop and Beyond)
When you only need to move a handful of photos, wireless local transfers are incredibly efficient. These methods do not use the internet but rather a direct local connection between devices.
- AirDrop (Apple Only): Highlight your photos on your iPhone, tap the Share icon, and select your Mac. The files appear instantly in your Downloads folder.
- Nearby Share / Quick Share (Android to Windows): Google and Samsung have improved their integration with Windows. By installing the 'Quick Share' app on your PC, you can beam photos from your Android phone directly to your computer.
- Third-Party Apps: Applications like Snapdrop or WeTransfer (for larger batches via a link) offer browser-based solutions that work regardless of the operating system.
Organizing Your Photos Post-Transfer
Transferring the photos is only half the battle. Without a proper organization system, your computer will quickly become a digital graveyard of 'IMG_4829.JPG' files. Follow these best practices for long-term management:
- Chronological Folder Structure: Organize by Year > Month > Event (e.g., 2023 > 12_December > Christmas_Dinner).
- Descriptive Naming: Use batch renaming tools to change generic filenames to something searchable.
- Tagging and Metadata: Use software like Adobe Bridge to add keywords. This makes finding a specific photo from years ago a matter of seconds rather than hours.
The 3-2-1 Backup Rule: Keeping Your Photos Safe Forever
Once you have mastered how to transfer photos to computer, you must protect that data. Digital storage media can fail without warning. Professional photographers adhere to the 3-2-1 Backup Rule:
- Keep 3 total copies of your photos.
- Store them on 2 different types of media (e.g., your computer's internal SSD and an external hard drive).
- Keep 1 copy off-site (e.g., in the cloud or at a friend's house).
By following this protocol, you ensure that even a catastrophic hardware failure or a local disaster like a fire won't result in the loss of your precious visual history.
Troubleshooting Common Transfer Issues
Sometimes, the computer simply won't 'see' the device. If you encounter issues, check the following:
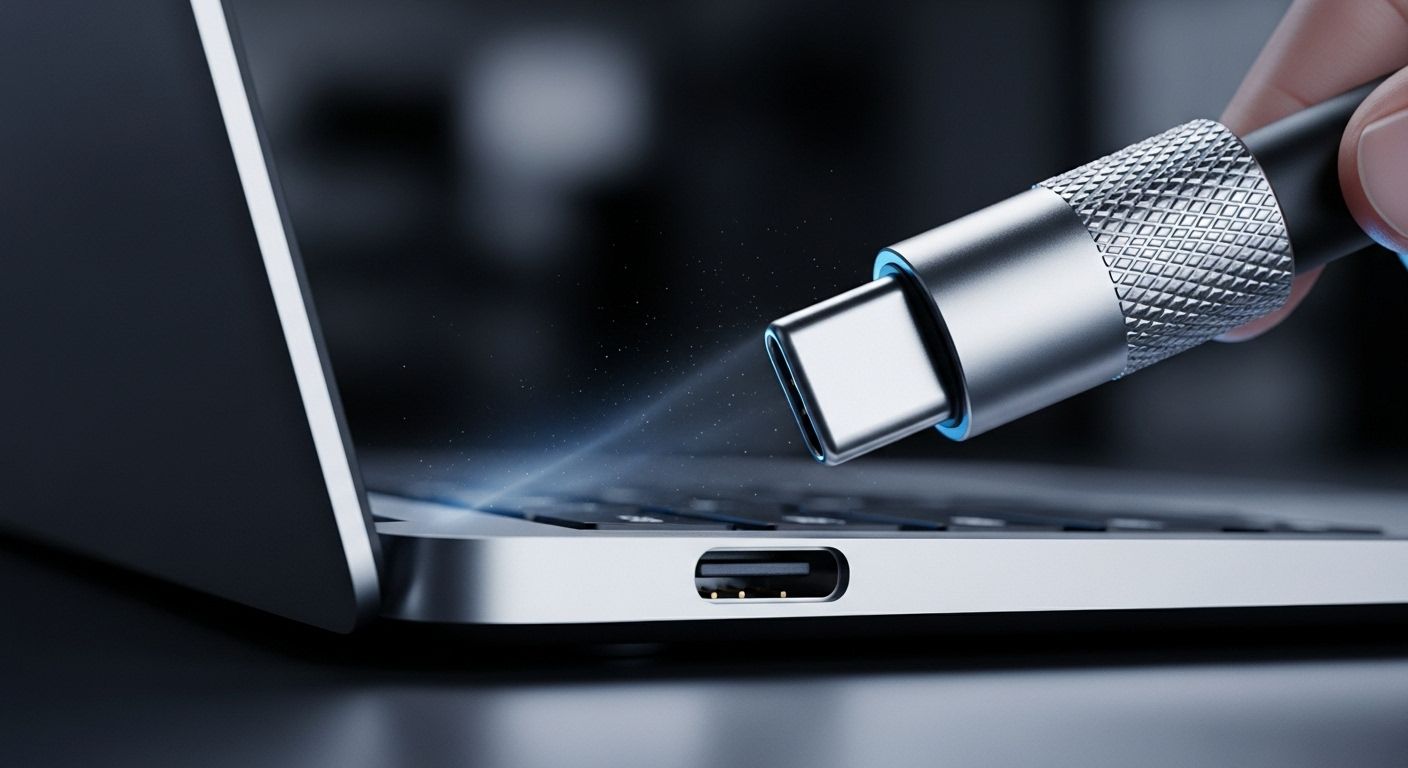
- Cable Quality: Many cheap USB cables are designed for charging only and do not have the data wires necessary for file transfer. Always use the original cable or a certified data cable.
- USB Port: Try a different port on your computer. Avoid using unpowered USB hubs for large transfers as they may not provide enough voltage.
- Permissions: On Android, ensure the USB mode is set to 'File Transfer' or 'MTP' rather than 'Charging Only.' On iPhone, ensure you have clicked 'Trust' on the device screen.
- Drivers: Windows users may need to update their 'Universal Serial Bus controllers' in the Device Manager if the phone is not appearing.
Conclusion: Your Memories, Secured
Knowing how to transfer photos to computer is an essential skill for anyone living in the modern world. Whether you prefer the raw speed of a USB cable, the convenience of cloud synchronization, or the professional workflow of SD card readers, the key is consistency. Make it a habit to offload your photos weekly or after every major event. By doing so, you not only safeguard your memories against loss but also unlock the full potential of your images through better organization and editing possibilities.
Ready to Protect Your Digital Life?
Don't wait for a 'storage full' warning or a device malfunction. Start your photo transfer journey today! If you found this guide helpful, subscribe to our newsletter for more tech tips, or share this article with a friend who needs help organizing their digital clutter.