The Ultimate Guide to Building a DIY Dog Ramp: A Step-by-Step Masterclass
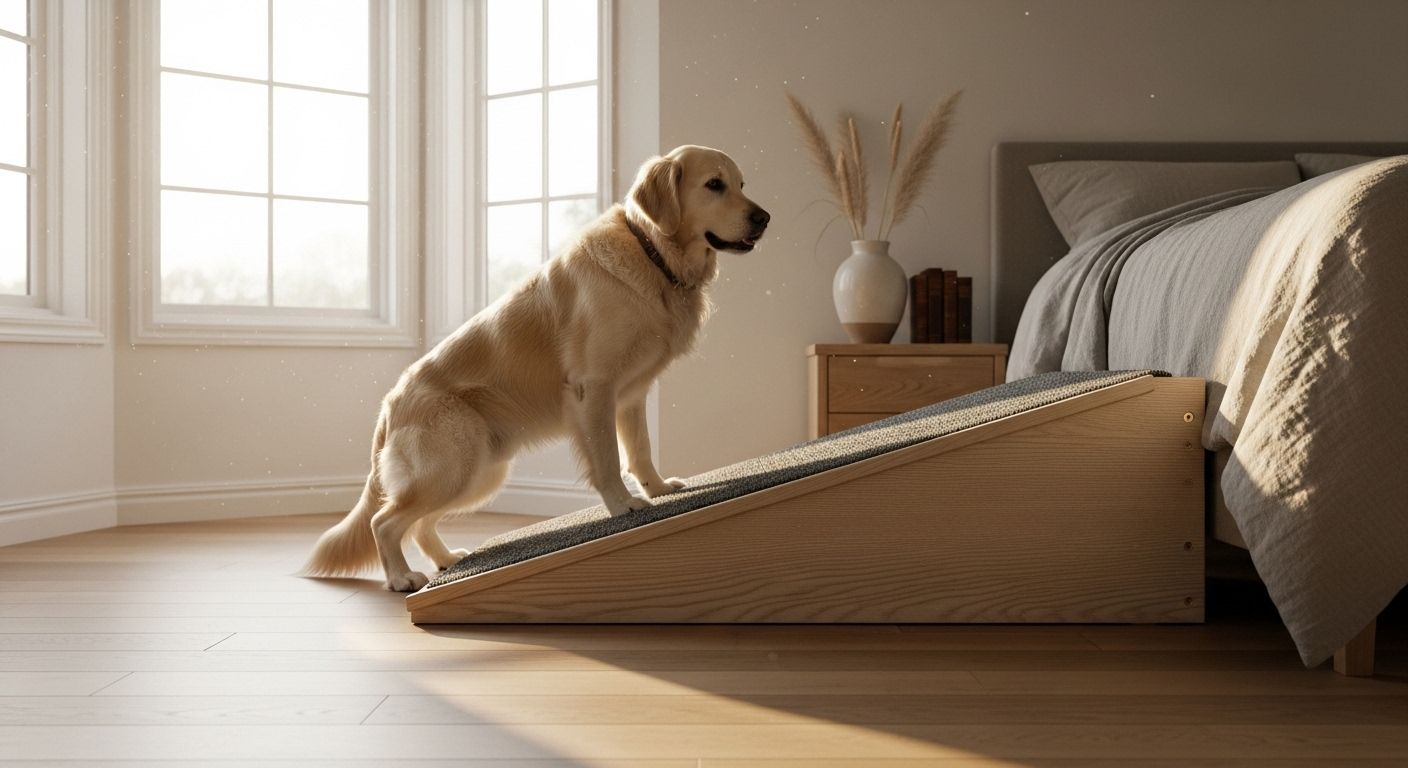
As our canine companions age, or if they belong to breeds prone to joint issues like Intervertebral Disc Disease (IVDD) or hip dysplasia, the simple act of jumping onto a couch or bed can become a source of physical stress. Providing a DIY dog ramp is not just a weekend project; it is a significant investment in your pet's long-term mobility and quality of life. By building it yourself, you ensure the ramp is perfectly tailored to your dog's weight, the height of your furniture, and the aesthetic of your home. In this comprehensive guide, we will explore the engineering, materials, and construction techniques required to build a professional-grade ramp that is both functional and beautiful.
1. The Science of Canine Joint Health and Incline
Before picking up a saw, it is crucial to understand the biomechanics of why a ramp is necessary. When a dog jumps down from a surface, their front joints absorb up to four times their body weight in impact force. Over time, this leads to micro-trauma in the cartilage. A ramp eliminates this impact, but only if the angle is correct. For most dogs, a slope of 18 to 25 degrees is ideal. Senior dogs or those with limited mobility require a more gradual incline (closer to 18 degrees), while younger, agile dogs can handle up to 25 degrees.
- Small Breeds: Require wider platforms for stability and very shallow inclines.
- Large Breeds: Require reinforced structural support to prevent flexing under weight.
- Long-Backed Breeds (Dachshunds/Corgis): Must avoid any jumping; the ramp should be their primary mode of elevation.
2. Essential Materials and Tool Selection
To build a ramp that lasts a lifetime, you must select high-quality materials. Avoid cheap particle board, which can swell with moisture and lacks structural integrity. Instead, opt for 3/4-inch birch or oak plywood for the main walkway and solid pine or poplar for the framing. This combination offers a balance of strength and manageable weight.
The Master Tool List:
- Miter Saw: Essential for making precise angled cuts for the base and top of the ramp.
- Circular Saw or Table Saw: To rip the plywood to the desired width.
- Drill/Driver: For creating pilot holes and driving wood screws.
- Wood Glue (Titebond II or III): Crucial for structural bonds that outlast the screws themselves.
- Orbital Sander: To ensure all edges are smooth and safe for paws.
- Kreg Jig (Optional): For professional-looking pocket hole joinery.
3. Step-by-Step Construction Guide
Follow these steps to ensure a safe and sturdy build. We will focus on a fixed-frame design, which provides the most stability for dogs of all sizes.
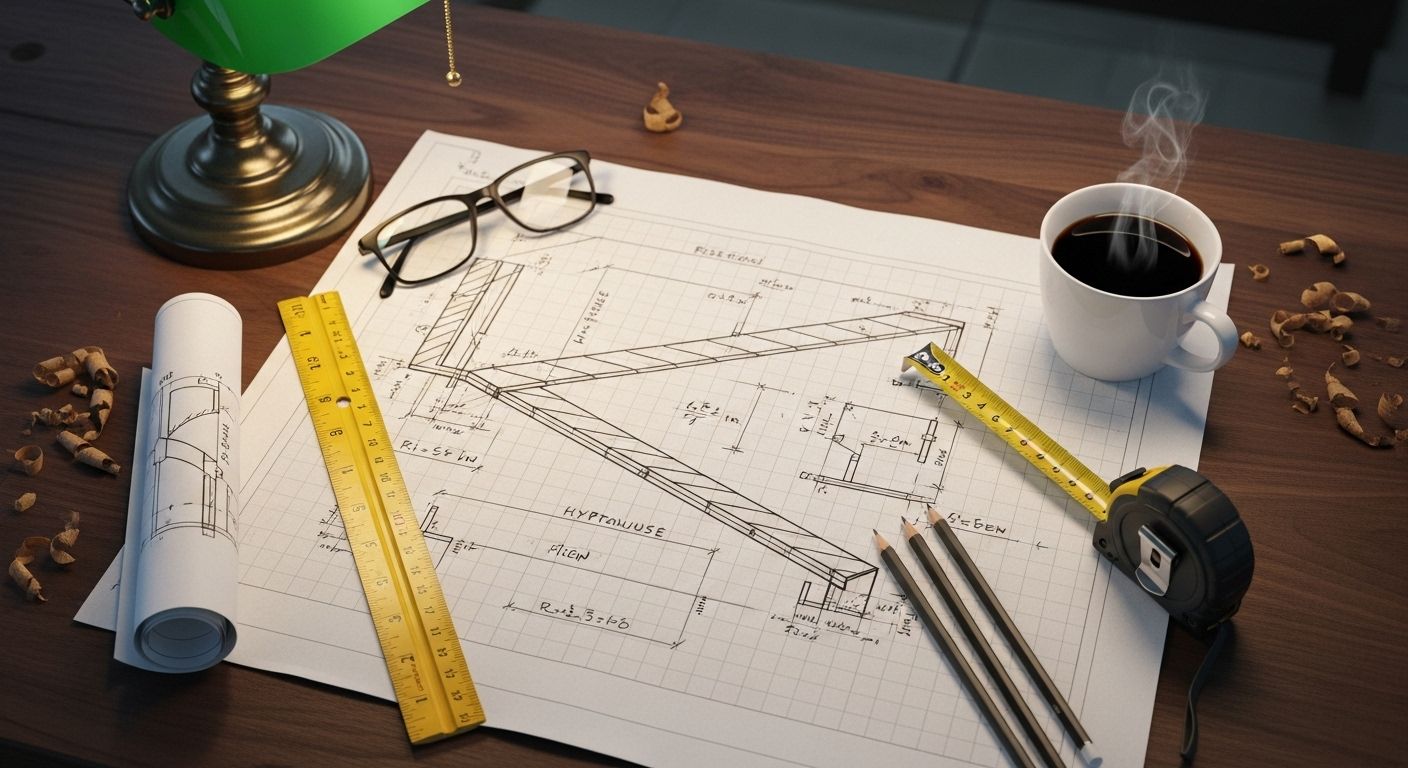
Step 1: Measuring the Rise and Run
Measure the height from the floor to the top of the mattress or couch cushion. This is your Rise. To calculate the Run (length on the floor), multiply the rise by 2.5 for a standard 22-degree incline. For example, a 24-inch bed requires a 60-inch floor run.
Step 2: Cutting the Side Panels
Using your plywood, cut two identical side panels. These will act as the structural 'walls' of the ramp. Use a long straight edge to mark the diagonal from the top-back corner to the bottom-front corner. Cut along this line. Safety Tip: Always wear eye protection and a dust mask when cutting plywood, as the glues can release fine particulates.
Step 3: Assembling the Internal Frame
Cut 2x2 pine 'cleats' to the width of your ramp (usually 12-16 inches). Attach these cleats between the side panels at the top, bottom, and every 12 inches along the incline. Use wood glue and 2-inch screws. This creates a torsion box effect, making the ramp extremely rigid.
Step 4: Attaching the Walkway and Traction Surface
Secure the top plywood sheet to the internal cleats. Now, the most important part: Traction. Dogs cannot walk on bare, polished wood. You must apply a non-slip surface. Options include: heavy-duty carpet remnants, rubberized matting, or adhesive anti-slip grit tape. Carpet is usually the best choice for indoor ramps as it provides the most 'claw-hold' for the animal.
4. Training Your Dog to Use the Ramp
Building the ramp is only half the battle; you must now teach your dog to use it reliably. Never force or push your dog onto the ramp, as this can create a permanent fear association.
- Lure Training: Use high-value treats (chicken, cheese) to lead your dog's nose up the ramp.
- Positive Reinforcement: Reward every paw placement on the ramp with verbal praise and treats.
- Consistency: Block off the 'jumping route' with pillows or a temporary barrier so the ramp becomes the only option.
- Patience: Some dogs take minutes to learn, while others may take weeks. Stay calm and keep sessions short (5-10 minutes).
Conclusion: A Gift of Longevity
By taking the time to build a custom DIY dog ramp, you are providing your pet with more than just a piece of furniture; you are giving them the gift of independence and pain-free movement. Whether they are a tiny puppy or a dignified senior, the reduction in joint stress will pay dividends in their overall health and happiness. Remember to inspect the ramp periodically for loose screws or worn carpet to ensure it remains a safe haven for your furry friend.